

How to Make a Wooden Bench with Easy Plans: Step-by-Step Guide
Create a outdoor wooden bench Not only is it an ideal project for DIY beginners, but it's also a great way to add style and functionality to your home or garden.
With this detailed guide, which I have designed for readers of BricoplanYou'll be able to build your own bench in no time, using basic tools and accessible materials. This project will not only allow you to create a unique piece of furniture, but will also develop your carpentry skills.
Necessary materials and tools
Materials
- Pine Wood Boards
See breakdown in the section Design and preparation of the wooden bench.
- Wood glue


- Wooden dowels


- Medium and fine grit sandpaper


- Protective Lasur for Wood


Tools
- Electric drill


- Sierra circular o manual


- Electric sander (optional).


- Squad


- measuring tape.


- Nailer or hammer


Design and preparation of the outdoor wooden bench
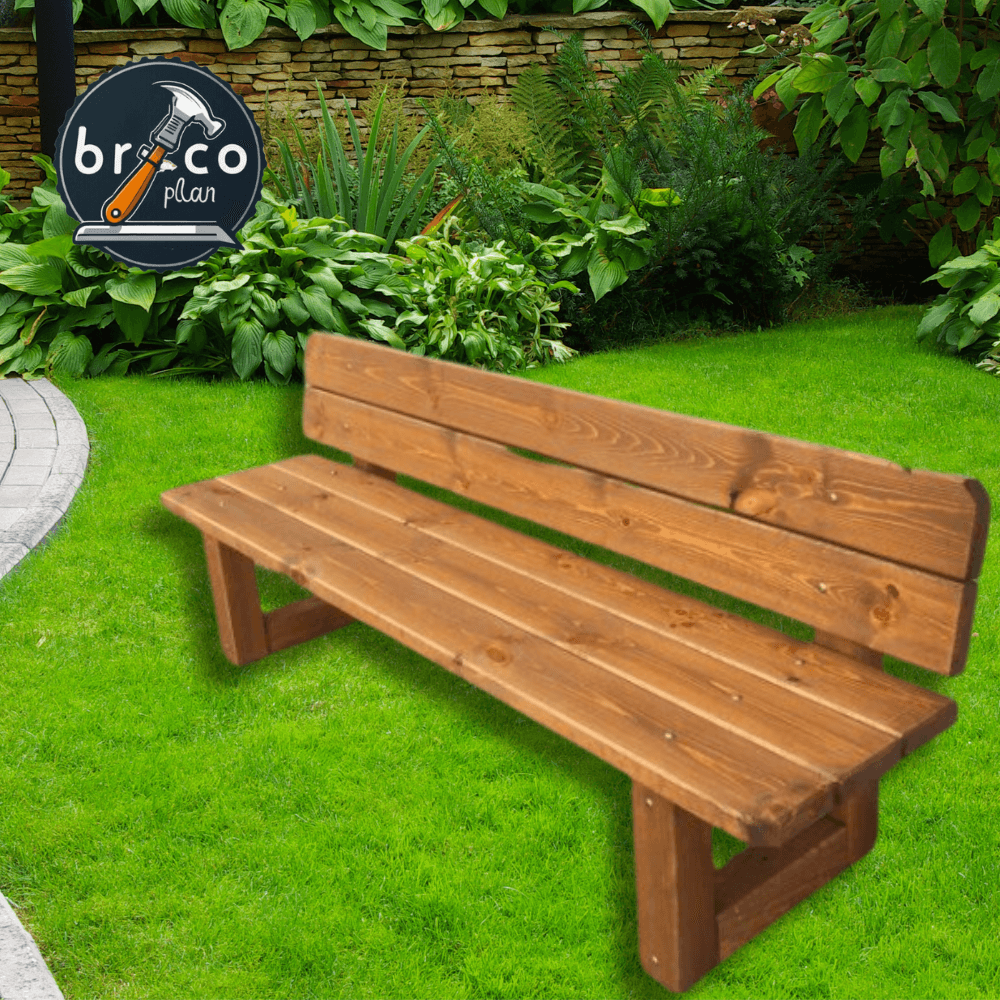
Before you begin, it's important to define the bench's dimensions. For this project, we'll build a standard bench measuring 120 cm long, 48 cm wide, and 50 cm high with a 60 cm backrest, similar to the one pictured. The wooden bench in the picture only has four legs.
If you're considering making it longer, I personally suggest reinforcing the lower part of the seat with crossbars to give greater strength to the central part and prevent the seat from sagging over time.
Outdoor Wooden Bench Plans and Components
I include a detailed diagram of the following parts:
- Seat: 4 boards thickness 40 mm x width 120 mm, length 120 cm.
- Back: 2 or 3 boards of thickness 40 mm x width 120 mm, length 120 cm.

- Dimensions: thickness 40 mm x width 120 mm, length 150 cm.
- Pressure-treated green pine wood. It appears greenish at first, but fades after a few weeks.
- Sharp, brushed edges with beveled edges. Long-lasting durability. Weather-resistant.
- Front Legs: 2 Posts 90 mm thick x 90 mm wide x 50 cm long.

- Dimensions: 90mm thick x 90mm wide x 50cm long.
- Pressure-treated green pine wood. It appears greenish at first, but fades after a few weeks.
- Sharp, brushed edges with beveled edges. Long-lasting durability. Weather-resistant.
- Hind Legs: 2 Posts 90 mm thick x 90 mm wide x 110 cm long.
- Dimensions: 90mm thick x 90mm wide x 110cm long.
- Pressure-treated green pine wood. It appears greenish at first, but fades after a few weeks.
- Sharp, brushed edges with beveled edges. Long-lasting durability. Weather-resistant.
- Seat/leg reinforcements: 2 posts of thickness 45 mm x width 70 mm, length 90 cm to be used as union between the legs and the seat

- Dimensions: thickness 45 mm x width 70 mm, length 90 cm.
- Pressure-treated green pine wood. It appears greenish at first, but fades after a few weeks.
- Sharp, brushed edges with beveled edges. Long-lasting durability. Weather-resistant.
- Seat crossbars: 2 posts of thickness 45 mm x width 70 mm, length 40 cm to be used for the central part of the seat
- Dimensions: thickness 45 mm x width 70 mm, length 40 cm.
- Pressure-treated green pine wood. It appears greenish at first, but fades after a few weeks.
- Sharp, brushed edges with beveled edges. Long-lasting durability. Weather-resistant.
If you want to customize the dimensions, use software like SketchUp to adjust the design.
Building a Wooden Bench Step by Step
1. Cut the wood
If you don't choose to purchase pre-cut lumber as suggested above, use a circular saw to cut the boards to the measurements indicated. Make sure the cuts are precise to ensure a solid assembly.
2. Sand all parts
Sand wood surfaces to remove splinters and achieve a smooth finish. Start with medium-grit sandpaper and finish with fine-grit sandpaper.
3. Assemble the legs
- Join two side boards to each leg with dowels and wood glue.
- Use a set square to make sure the angles are right.
4. Fix the side reinforcements
Dowel the reinforcing bars to the legs, creating a stable frame. This will provide additional support for the bench.
5. Place the seat
- Center the seat board over the frame and secure with dowels from the bottom.
- If you prefer a cleaner finish, use hidden screws or special hardware.
6. Protection and finishing
- Apply a coat of wood protector or varnish to prolong the life of the bench.
- If you want to personalize it, paint it with bright colors or use an antiquing technique.
Advantages of making an outdoor wooden bench
| Pros | Contras |
|---|---|
| Total customization | Requires basic tools |
| Durable and resistant | It can be laborious for beginners |
| Economic | Time consumption |
| Ideal for indoor and outdoor use | Risk of errors in measurements |
| Great personal satisfaction | Requires workspace |
Safety Tips
- Always wear protective glasses
- Work in a well-ventilated space
- Keep tools away from children
FAQs – How to Make an Outdoor Wooden Bench
Final Thoughts: Building an Outdoor Wooden Bench
Key Aspects
- Difficulty: Accessible project for beginners with basic carpentry skills
- Execution Time: 4-6 hours
- Economic Investment: Between 50-150€
Project Benefits
- Development of practical carpentry skills
- Creating a custom piece of furniture
- Personal satisfaction of making something with your own hands
- Economic savings compared to buying a commercial bank
Final Recommendations
- Security: Prioritize the use of protective equipment
- Precision: Measure twice before cutting
- Patience: Don't rush any step of the process.
- Practice: The first attempt may not be perfect, but it improves with each project.
Next Steps
- Continue practicing with more complex woodworking projects
- Invest in quality tools
- Explore different types of wood and finishing techniques
General Conclusion: Building a wooden bench is a rewarding project that combines creativity, manual skill, and personal satisfaction.
Proposed Complementary Entries
- 15 Basic DIY Tricks That Will Transform Your Home
- 20 Easy DIY Home Projects for Beginners
- How to Organize Your DIY Workshop at Home: A Practical Guide
- Best Folding Workbench: Complete Guide
- Tips for Working with Wood Like a Pro
- Best Electric Wood Planer: Complete Guide
- The 5 Best Table Saws
- The Best Japanese Saws: The Ultimate Guide
- Best Miter Saws Quality Price